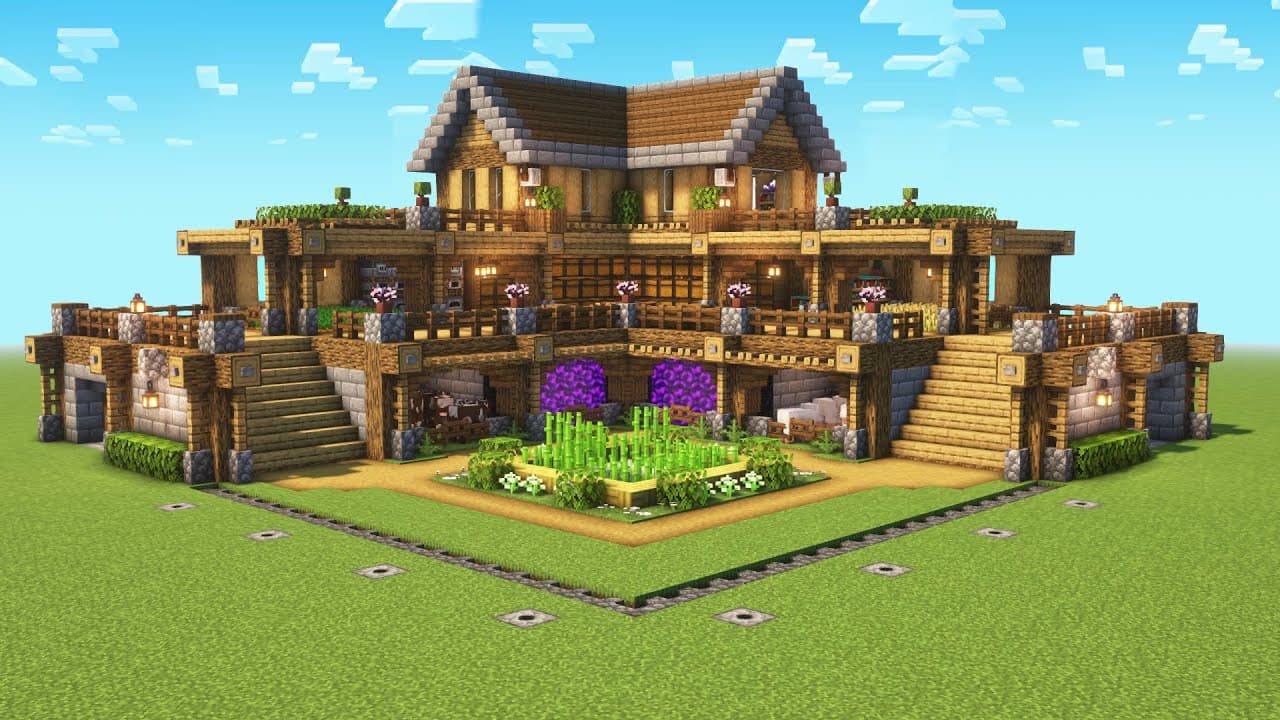
Week 4 of Text to Minecraft
Welcome to Week 4 of our Text-to-Minecraft project! This week, we’ll focus on building structures in Minecraft using a bot that leverages prompt templating to generate code. By the end of this week, you'll be able to give the bot commands like "build a house," and it will generate and execute Python code to carry out the task in your Minecraft world.
1. Build a Mineflayer bot that can construct structures.
2. Implement prompt templating to generate Minecraft building code.
3. Use few-shot prompts to enhance your bot's building abilities.
- Prompt templating for controlled LLM outputs.
- Connecting Minecraft with the bot to execute build commands.
- Crafting effective examples for the LLM to understand building requests.
Your bot will now build structures instead of just chatting! Let’s build on last week's bot setup to give it the ability to construct based on prompts.
1. Update BotBuilder Class ('bot.py'):
In bot.py, update your bot so that it listens for 'build' commands. It doesn't need to do anything yet, just have the code ready.
Hint: Use the same 'if' logic you used for the bot to come to you.
2. Using Prompt Templating to Generate Minecraft Code (`code_generator.py`)
This is where prompt templating comes into play. You’ll teach the bot how to generate code that builds different structures in Minecraft based on examples and templates. Prompt templating is when you give the LLM some sort of scaffolding so that it can better answer your prompts. This includes system messages, examples, etc.
We use few-shot learning with templating to show the model how to respond by providing examples. These examples guide the model to return Python code that the bot can use to build things in Minecraft.
1. Remove ChatGPT code:
Remove the ChatGPT-related code from your BuilderBot class. We’ll use this later, so store it for now.
2. Create the Code Generator:
- Create a file called llm.py and define a MinecraftCodeGenerator class.
import os
from dotenv import load_dotenv
from langchain_openai import ChatOpenAI
from langchain_core.output_parsers import StrOutputParser
from langchain_core.prompts import ChatPromptTemplate, FewShotChatMessagePromptTemplate
class MinecraftCodeGenerator:
def init(self):
"""
Initializes LLM
"""
# Initialize LLM here
def generate_code(self, message):
"""
Sends a message to the LLM and returns its response.
:param message: The message to be sent
:return: The LLM's response
"""
# Prompt ChatGPT and return response
3. Initialize ChatGPT in init:
Add the ChatGPT initialization code you removed in step 1 inside the init function of MinecraftCodeGenerator.
4. Update generate_code()"
In the generate_code() method, add the code to send a prompt to ChatGPT.
5. Connect the Code Generator to the Bot:
In BuilderBot, initialize MinecraftCodeGeneratorwhen the bot spawns, and call generator_code() when a message contains the word "build."
Hint: You’ll initialize the code generator in the bot’s spawn event and call it in response to in-game chat messages. If the message contains "build" but not "come," call a specific code generator function.
Now that you’ve set up the structure for the bot to generate code, let’s focus on the prompt templates and examples for code generation.
1. Update the System Prompt:
Modify the system prompt to tell the LLM that it is a bot designed to generate python code for building structures in Minecraft. Be creative and specific when defining the bot’s role. It may not work sometimes. Search ways to act the bot behave how you want it to by using the system prompt.
2. Add Few-Shot Examples:
Provide examples to show the bot how to generate Python code. These few-shot prompts will guide the LLM to produce code in response to build requests.
Example Prompts:
The example prompts are in the Minecraft Discord channel in the AI Club server!
3. Use LangChain:
Use LangChain to implement the few-shot prompts. LangChain simplifies the integration of large language models (LLMs) into applications and allows you to use chaining for more complex interactions.
Hint: Look up LangChain documentation for few-shot prompts and chaining. Add this logic inside the init method of MinecraftCodeGenerator.
4. Execute the Generated Code:
Once the LLM generates Python code, you can execute it using the exec() function:
response = self.client.generate_code(message) exec(response)
5. Test the Bot:
Now the bot should be able to execute the generated Python code and build the requested structures in Minecraft.
After setting up the bot and connecting it to your prompt templates, it’s time to test it out.
1. Run your Minecraft server and launch the bot.
2. Type commands like "build a house" or "build a snowman" in the Minecraft chat.
3. Check the results: The bot should generate the code and start building the requested structure.
The key thing you want to optinmize is consistency. Getting a response is easy, but getting it in a certain can be quite hard. Tools like LangChain are made to help you do this.
If you finish early, try these:
1. Enhance the examples: Add more complex builds, like towers, bridges, or statues.
2. Add error handling: Ensure the bot can gracefully handle unknown or invalid commands.
3. Refine prompt templating: Experiment with different prompt formats to improve code generation quality.
Next week, we’ll dive deeper into advanced structure building and optimizing the bot’s performance. Happy building!